Registration Flow
Out of date
This guide contains outdated information pertaining to Kubeflow 1.0. This guide needs to be updated for Kubeflow 1.1.This guide is for Kubeflow users who are logging in to Kubeflow for the first time. The user may be the person who deployed Kubeflow, or another person who has permission to access the Kubeflow cluster and use Kubeflow.
Introduction to namespaces
Depending on the setup of your Kubeflow cluster, you may need to create a namespace when you first log in to Kubeflow. Namespaces are sometimes called profiles or workgroups.
Kubeflow prompts you to create a namespace under the following circumstances:
- For Kubeflow deployments that support multi-user isolation: Your username does not yet have an associated namespace with role bindings that give you administrative (owner) access to the namespace.
- For Kubeflow deployments that support single-user isolation: The Kubeflow cluster has no namespace role bindings.
If Kubeflow doesn’t prompt you to create a namespace, then your Kubeflow administrator may have created a namespace for you. You should be able to see the Kubeflow central dashboard and start using Kubeflow.
Prerequisites
Your Kubeflow administrator must perform the following steps:
- Deploy Kubeflow to a Kubernetes cluster, by following the Kubeflow getting-started guide.
- Give you access to the Kubernetes cluster. See the guide to multi-tenancy.
Creating your namespace
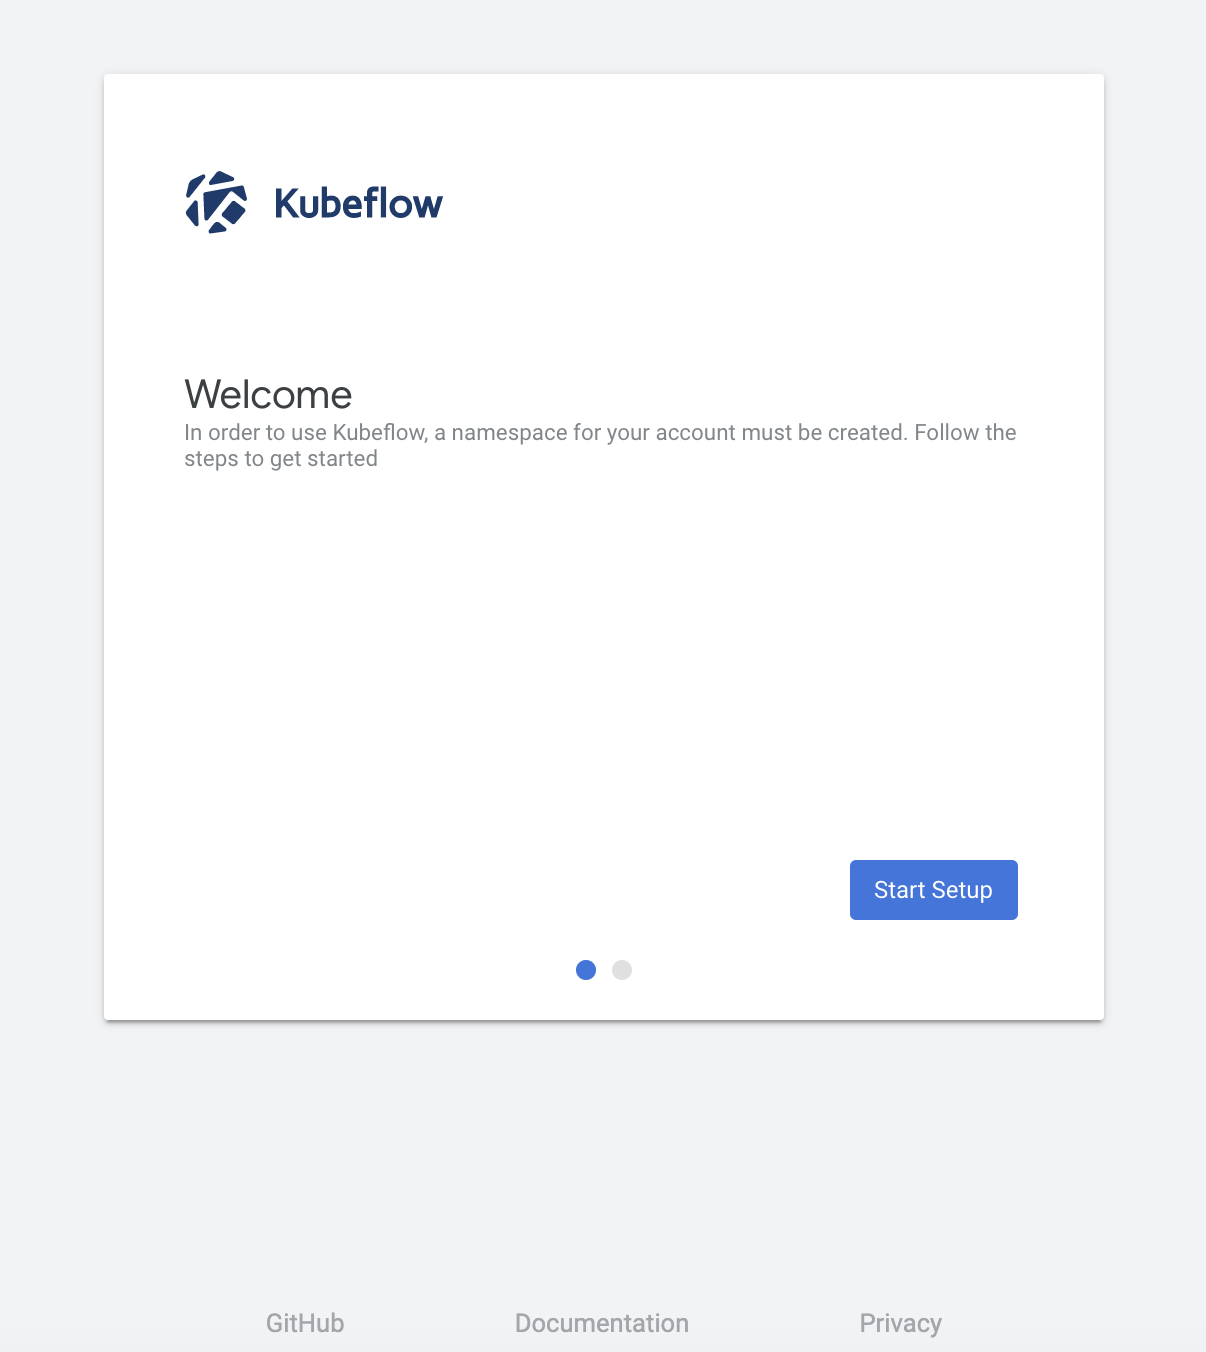
If you don’t yet have a suitable namespace associated with your username, Kubeflow shows the following screen when you first log in:

Click Start Setup and follow the instructions on the screen to set up your namespace. The default name for your namespace is your username.
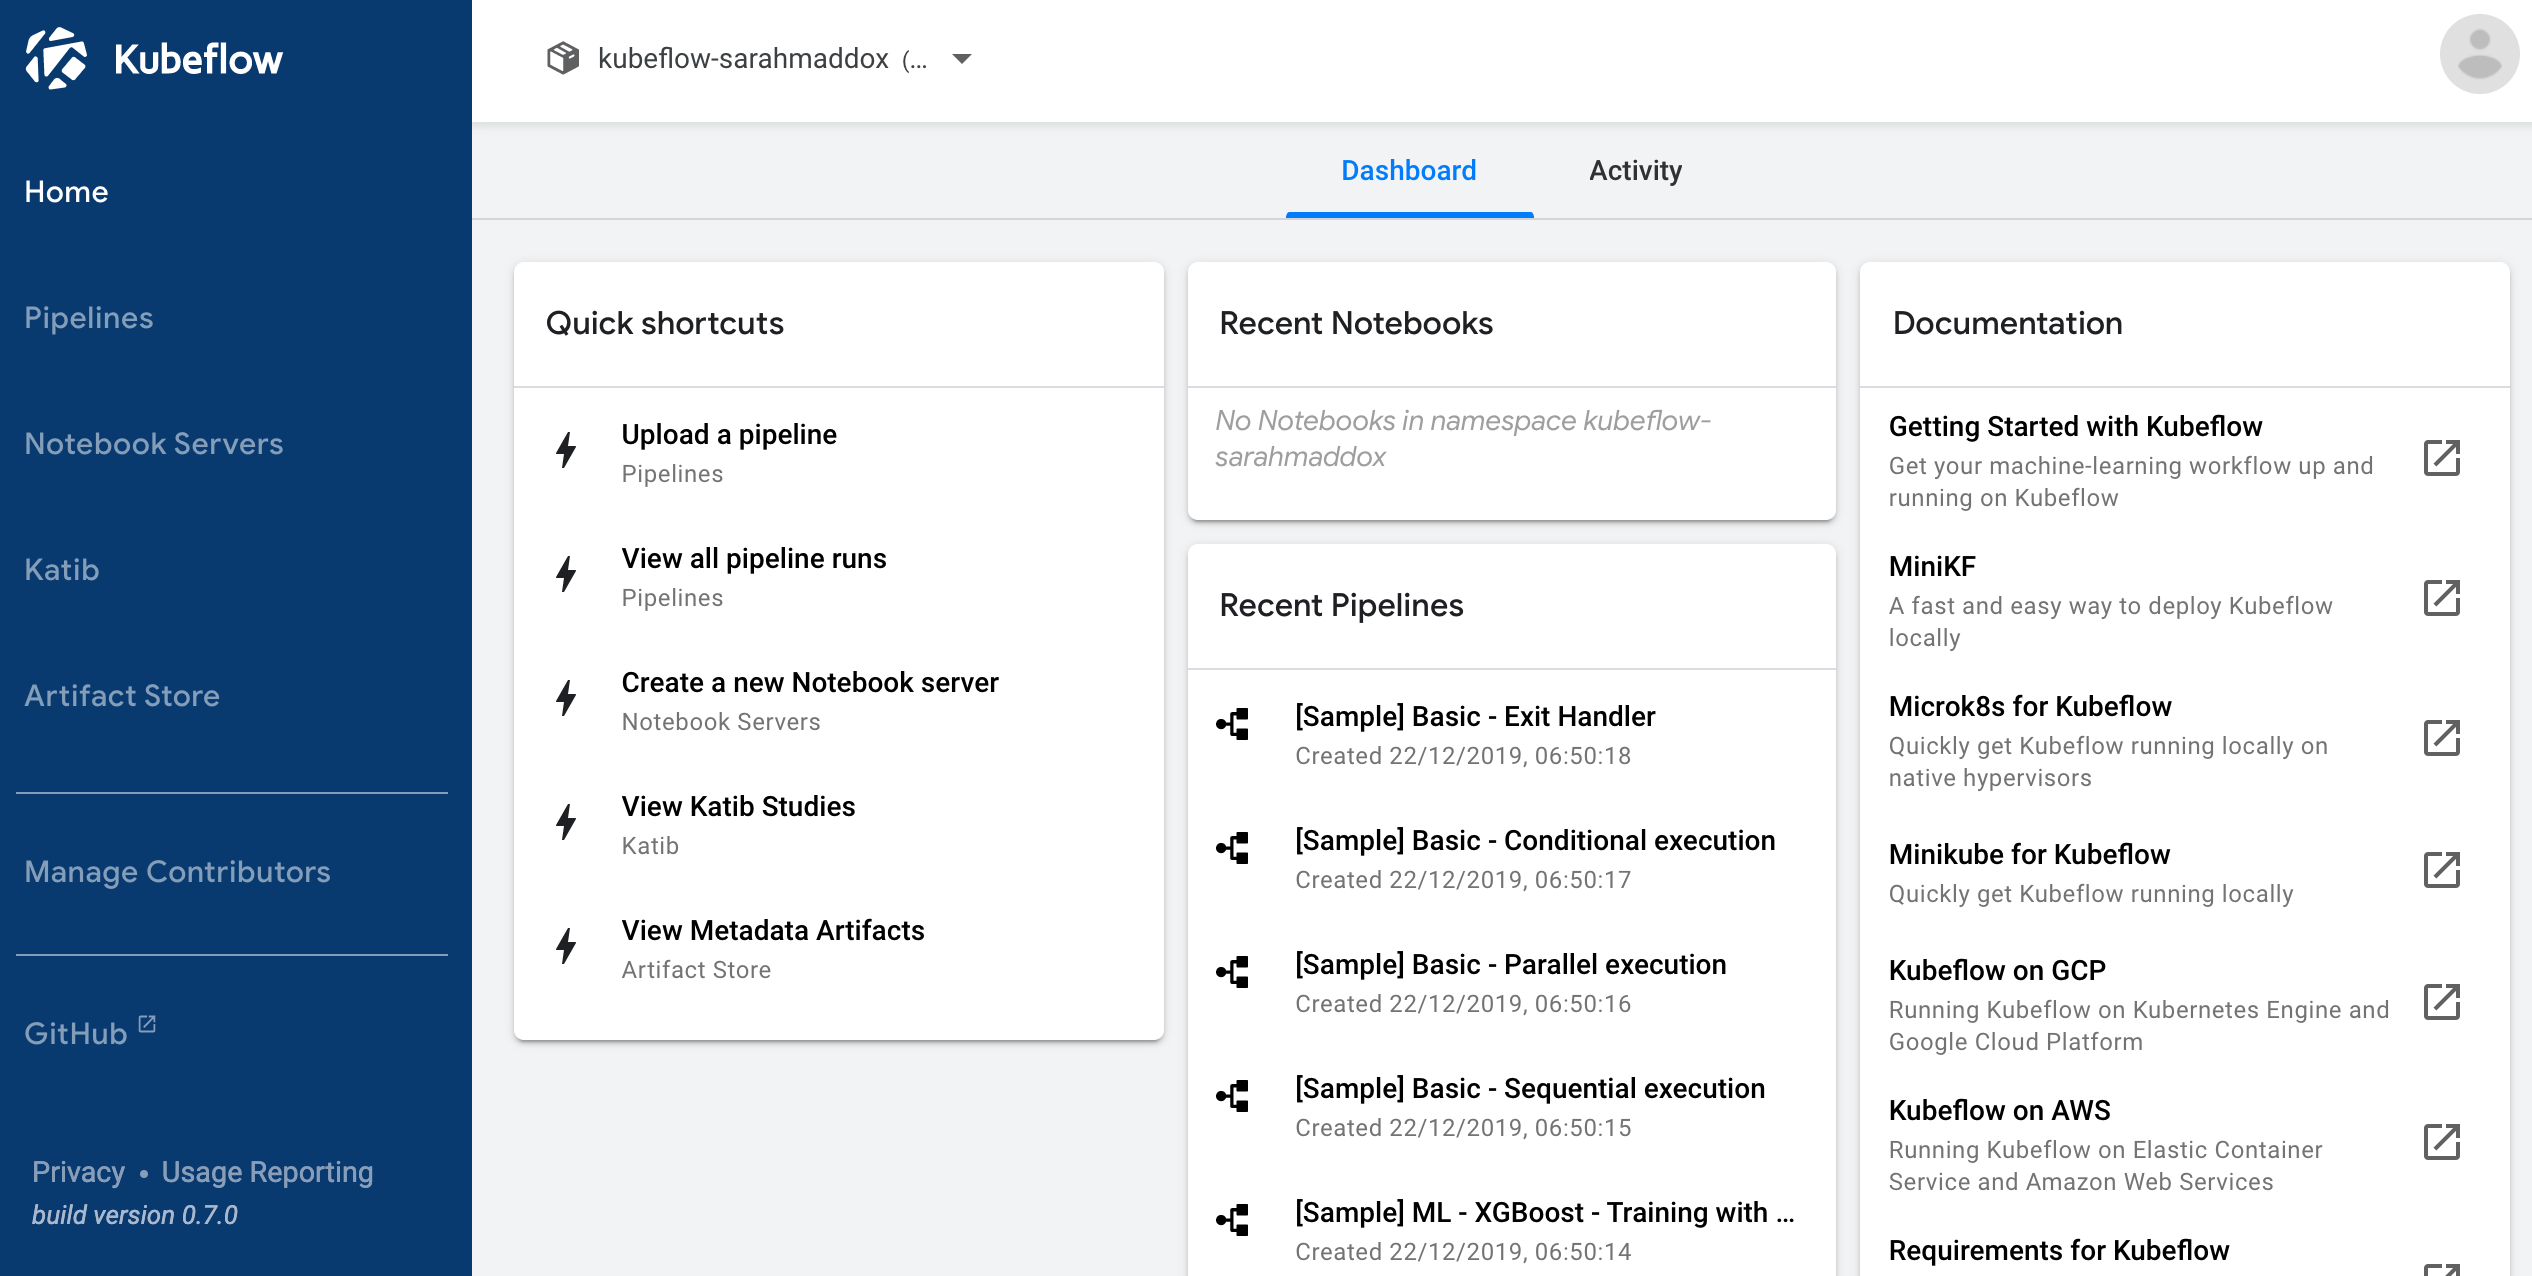
After creating the namespace, you should see the Kubeflow central dashboard, with your namespace available in the dropdown list at the top of the screen:

Next steps
- Set up a Jupyter notebook in Kubeflow.
- Read more about multi-tenancy in Kubeflow.
Feedback
Was this page helpful?
Glad to hear it! Please tell us how we can improve.
Sorry to hear that. Please tell us how we can improve.